

Professional Vinyl Flooring Installation Explained
- PVC Master
- Oct 12, 2025
- 4 min read
Vinyl flooring has become one of the most popular choices for both residential and commercial spaces. Its versatility, durability, and aesthetic appeal make it a top contender among flooring options. However, to truly enjoy the benefits of vinyl flooring, professional installation is key. This article will guide you through the essential aspects of vinyl flooring installation, highlighting its benefits, methods, and tips for a flawless finish.
Benefits of Vinyl Flooring Installation
Vinyl flooring offers numerous advantages that make it a smart investment for any property. Here are some of the key benefits:
Durability and Longevity: Vinyl floors are resistant to scratches, dents, and stains. This makes them ideal for high-traffic areas such as kitchens, hallways, and commercial spaces.
Water Resistance: Unlike hardwood or laminate, vinyl flooring can withstand moisture and spills without warping or swelling. This makes it perfect for bathrooms, basements, and laundry rooms.
Comfort and Warmth: Vinyl has a softer feel underfoot compared to tile or hardwood. It also provides better insulation, helping to keep rooms warmer.
Variety of Styles: Available in a wide range of colors, patterns, and textures, vinyl can mimic the look of natural materials like wood, stone, or ceramic.
Low Maintenance: Cleaning vinyl floors is simple and requires only regular sweeping and occasional mopping.
Cost-Effective: Vinyl flooring is generally more affordable than other flooring options, especially when factoring in installation and maintenance costs.
These benefits make vinyl flooring a practical and attractive choice for many homeowners and business owners.

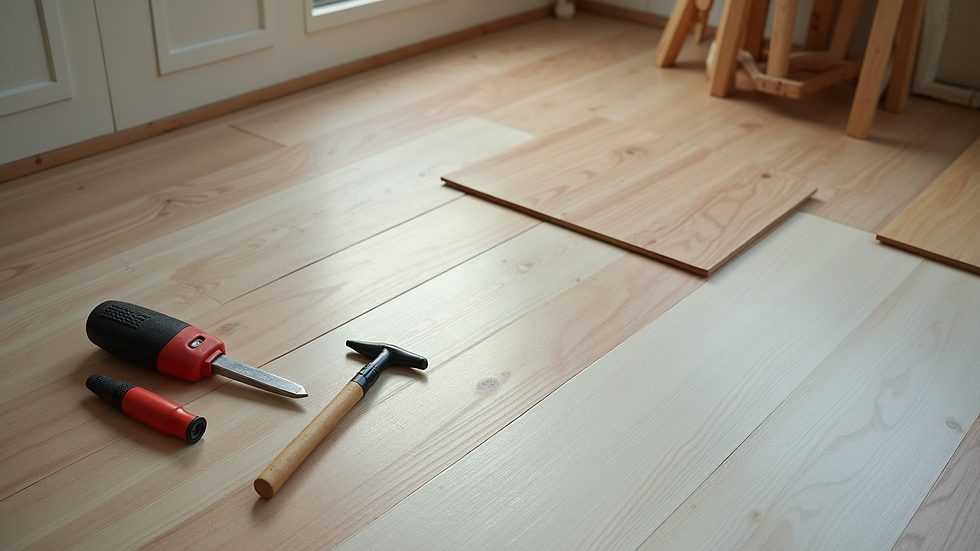
Preparing for Vinyl Flooring Installation
Proper preparation is crucial to ensure a smooth and successful vinyl flooring installation. Here are the steps to prepare your space:
Clear the Area: Remove all furniture, rugs, and appliances from the room.
Inspect the Subfloor: The subfloor must be clean, dry, and level. Any bumps, cracks, or holes should be repaired before installation.
Acclimate the Vinyl: Allow the vinyl planks or sheets to acclimate in the room for at least 48 hours. This helps prevent expansion or contraction after installation.
Gather Tools and Materials: Common tools include a utility knife, measuring tape, straight edge, adhesive (if required), and a roller for pressing the vinyl down.
Plan the Layout: Decide on the direction and pattern of the vinyl planks or tiles. This can affect the overall look and feel of the room.
Taking these preparatory steps seriously will save time and reduce the risk of installation errors.
What is the Best Installation Method for Vinyl Flooring?
Choosing the right installation method depends on the type of vinyl flooring and the condition of your subfloor. The most common methods include:
Glue-Down Installation: This method uses adhesive to secure vinyl sheets or tiles directly to the subfloor. It provides a very stable and durable surface, ideal for commercial spaces or areas with heavy foot traffic.
Click-Lock or Floating Installation: Vinyl planks with interlocking edges snap together without glue. This method is popular for DIY projects because it is easier and faster to install. It also allows the floor to expand and contract with temperature changes.
Loose Lay Installation: Some vinyl sheets or tiles are designed to be laid loosely over the subfloor without adhesive. They rely on their weight and friction to stay in place. This method is less permanent and allows for easy replacement.
Peel-and-Stick Installation: Vinyl tiles with a pre-applied adhesive backing can be peeled and stuck directly onto the subfloor. This is a quick and budget-friendly option but may not be as durable as other methods.
Each method has its pros and cons, so consider your specific needs, budget, and the room’s usage before deciding.

Tips for a Successful Vinyl Flooring Installation
To achieve a professional finish, keep these tips in mind:
Measure Twice, Cut Once: Accurate measurements prevent waste and ensure a perfect fit.
Use a Sharp Utility Knife: Clean cuts make the edges fit tightly together.
Leave Expansion Gaps: Vinyl flooring expands and contracts with temperature changes. Leave a small gap around the edges to accommodate this.
Roll the Floor: After installation, use a floor roller to press the vinyl firmly onto the subfloor, eliminating air bubbles.
Follow Manufacturer Instructions: Different vinyl products may have specific installation requirements. Always read and follow the guidelines.
Consider Professional Help: For the best results, especially in large or complex areas, hiring experts can save time and avoid costly mistakes.
If you want to ensure a flawless finish, consider professional vinyl flooring installation services.
Maintaining Your Vinyl Flooring
Once installed, maintaining vinyl flooring is straightforward but important to prolong its life:
Regular Cleaning: Sweep or vacuum regularly to remove dirt and debris that can scratch the surface.
Use Mild Cleaners: Avoid harsh chemicals. Use a vinyl floor cleaner or a mixture of water and mild detergent.
Protect from Furniture: Use felt pads under furniture legs to prevent dents and scratches.
Avoid Excess Water: While vinyl is water-resistant, standing water can seep into seams and cause damage.
Address Spills Quickly: Wipe up spills immediately to prevent staining.
Proper maintenance will keep your vinyl floor looking new for years.
Vinyl flooring is a versatile and practical choice that combines beauty with durability. Understanding the installation process and benefits helps you make informed decisions and enjoy a floor that enhances your space. Whether you choose to install it yourself or hire professionals, following the right steps ensures a lasting and attractive result.


Comments